Next step is to lay down some
gold for the trim stripes.

Same on the fuselage.
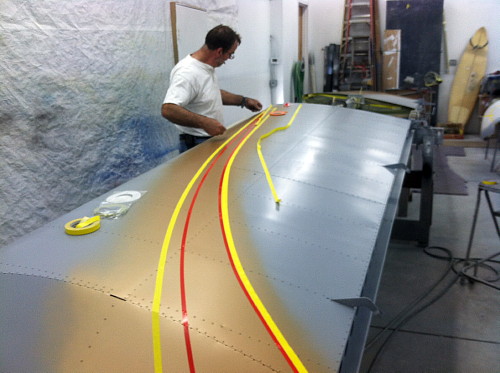
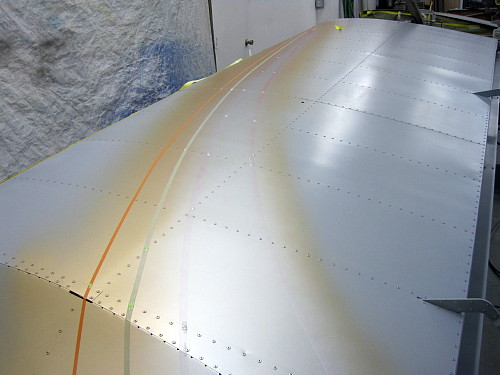
Now the location of the gold
stripe is laid out. It's the red tape. The yellow tape is a
guide line. It's cheaper tape but it doesn't bend around corners vary
well so it's not suitable for laying out arching stripes.
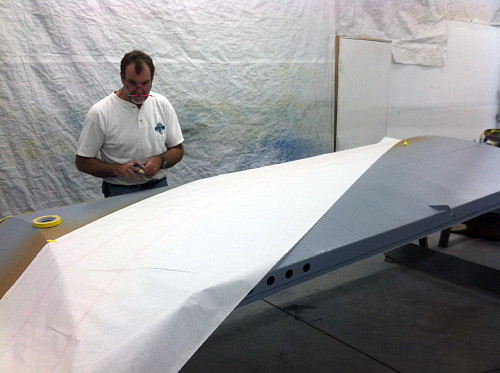
Next, a large paper template is
laid on top of the tape and the outline of the tape is marked on the paper
with a pen.
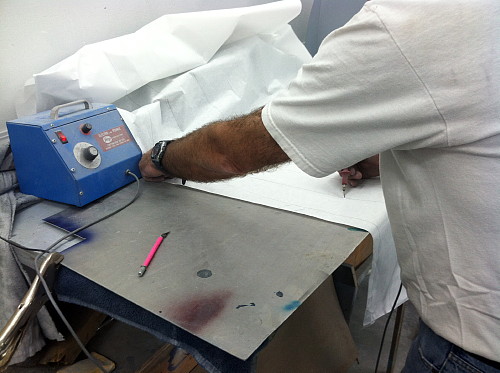
The paper is then taken over to
the pounce pattern machine, which burns tiny holes in the paper along the
lines. This produces a pattern for duplicating the stripes on the
other wing surfaces. The pattern is laid on the wing and then a pounce
pad filled with charcoal dust in "pounced" on the pattern. When the
paper is removed, the lines show up and can be taped.

Same thing for the fuselage.
One side is eyeballed, then a pattern is made to use on the other side.
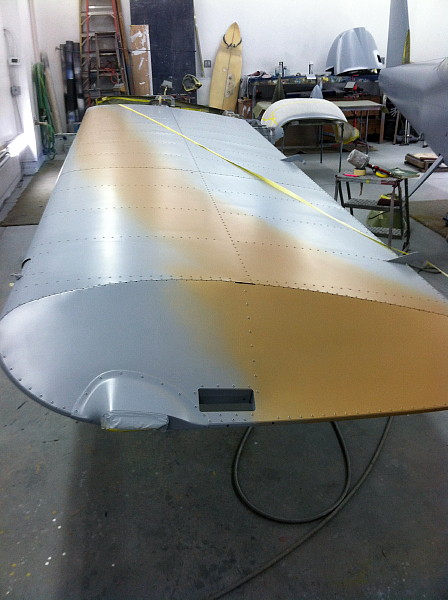
Next is to apply the silver
stripes.
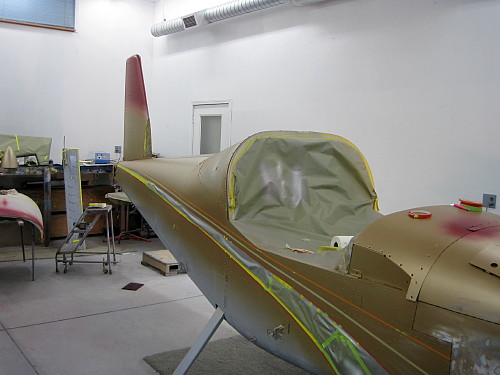
Once the silver dries, it is
masked off so that the base color coat can be sprayed.
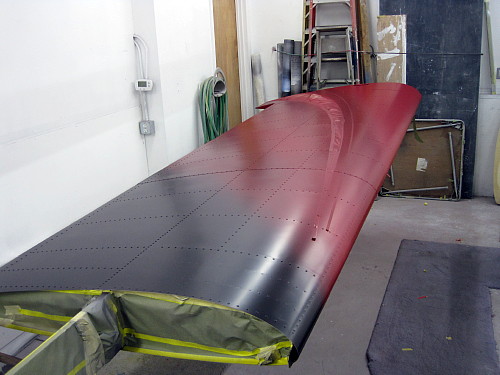
The airplane is painted
with a base coat/clear coat system. Four colors of red are used along
with a black metallic.
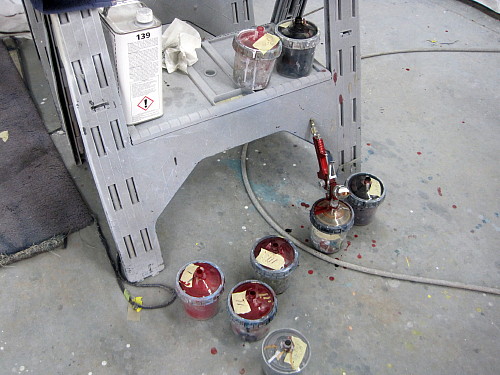
All the spraying and
blending happens at once. John lines up all the paint bottles and
sprays them in quick succession to carefully blend from bright red to black.
To continue the story, please go
to the next page.
|